
Last updated on November 1st, 2024 at 11:57 pm
Preparing Land for Garlic Farming in Kenya: A Step-by-Step Guide
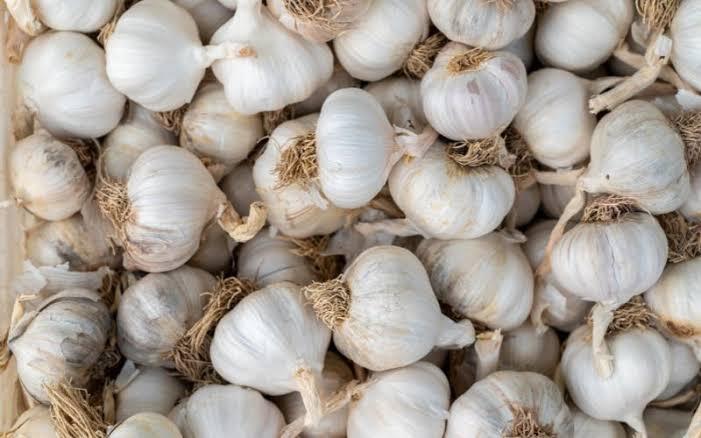
Garlic farming in Kenya is a lucrative business that requires proper land preparation to achieve maximum yields. If you’re planning to venture into garlic farming, you need to understand the right techniques of preparing land to ensure your crop grows healthy and disease-free. In this guide, we will provide you with a step-by-step approach on how to prepare land for garlic farming in Kenya.
Preparing Land for Garlic Farming in Kenya
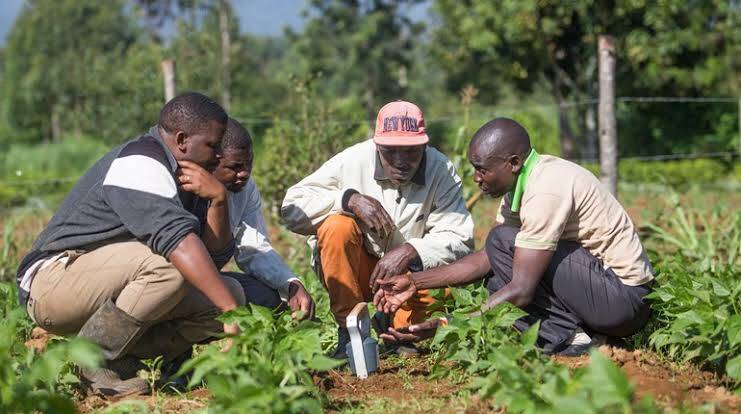
Step 1: Soil Testing
The first step in preparing land for garlic farming is to conduct a soil test. This will help you determine the soil type, pH level, nutrient content, and other factors that could affect the growth of your garlic crop. To conduct a soil test, collect a sample of soil from different areas of your land and send it to a reputable soil testing laboratory for analysis. The results of the soil test will guide you in determining the right type and amount of fertilizer to use on your farm.
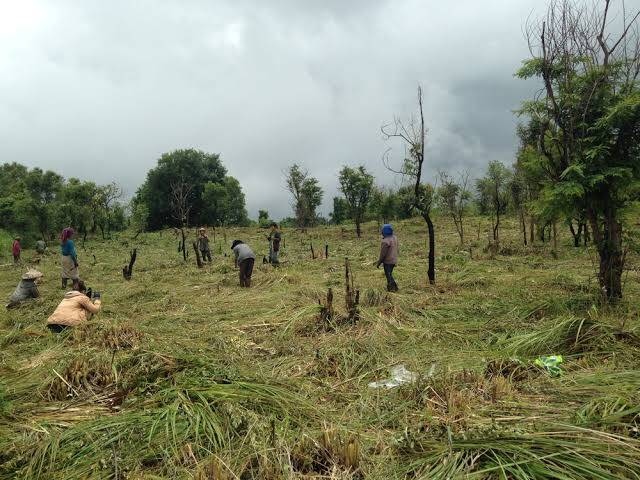
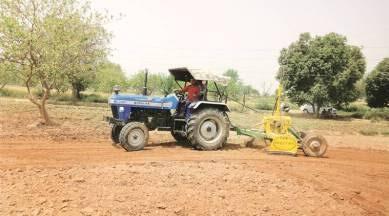
Step 2: Land Clearing
The second step is to clear the land of any debris, weeds, or other plants that could hinder the growth of garlic. Use a hoe or a tractor to clear the land and ensure that there are no large rocks or stumps that could damage your equipment during planting.
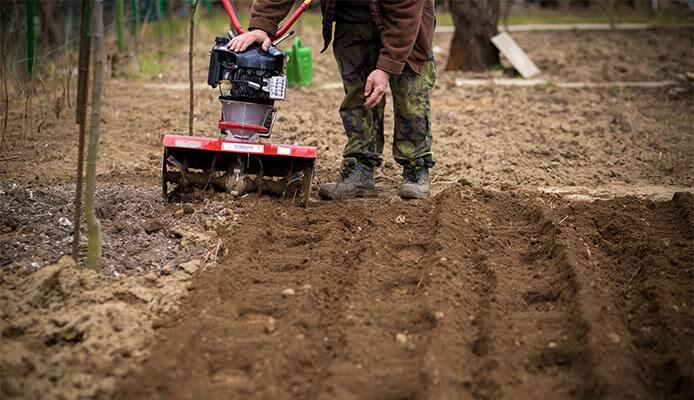
Step 3: Tilling
Tilling is the process of breaking up the soil to create a suitable seedbed for your garlic crop. Use a plow, disc harrow, or cultivator to till the land to a depth of at least 15 cm. This will help to aerate the soil and create a loose seedbed that allows for easy penetration of roots.
Step 4: Leveling
After tilling, level the land to ensure that it’s flat and even. This will help to prevent waterlogging and ensure that the garlic plants receive an even distribution of water and nutrients.
Step 5: Applying Fertilizer
After leveling, apply the recommended amount of fertilizer to the soil based on the soil test results. Garlic requires nitrogen, phosphorus, and potassium for healthy growth. Therefore, use a fertilizer that contains these nutrients in the right amounts. Avoid using too much fertilizer as this could lead to the burning of the garlic bulbs.
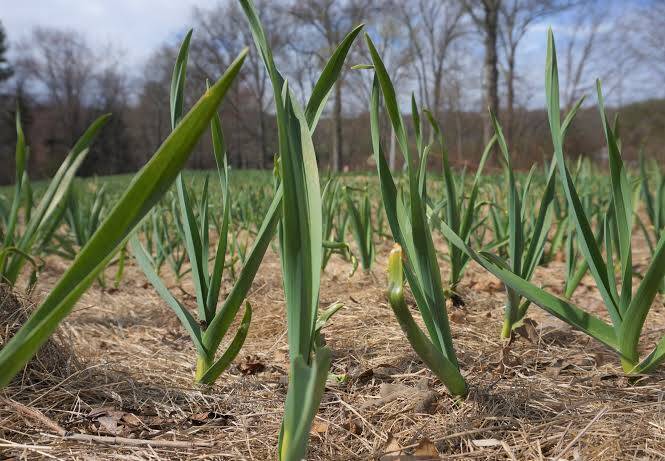
Step 6: Mulching
Mulching involves covering the soil with organic materials such as leaves, grass, or straw. Mulching helps to conserve soil moisture, suppress weed growth, and prevent soil erosion. Spread a layer of mulch about 5 cm thick over the soil.
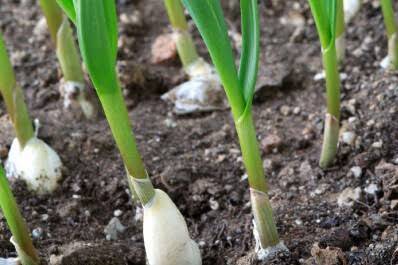
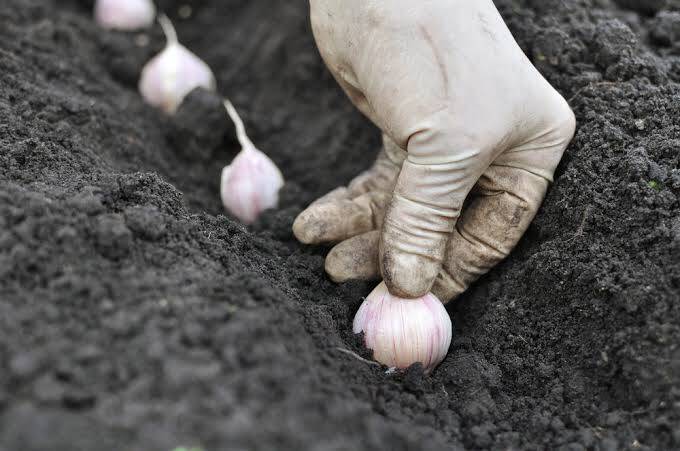
Step 7: Planting
Finally, it’s time to plant your garlic crop. Plant the garlic cloves about 2 cm deep and 10 cm apart. Cover the cloves with soil and water the soil gently. Ensure that the soil is moist but not waterlogged.
In conclusion, preparing land for garlic farming in Kenya requires careful planning and execution. Conduct a soil test, clear the land, till the soil, level the land, apply fertilizer, mulch the soil, and plant your garlic crop. With proper land preparation, you can expect to harvest a healthy and disease-free garlic crop that will bring in good returns
Also Read